Chapter 3 — Hermetic Closure
Act II — Trusting · No hard prerequisites · Validation chapter
Core Question
When is a render silently wrong — and what does the failure look like from the outside?
output/hermetic_hit_closure/20260604T023019Z/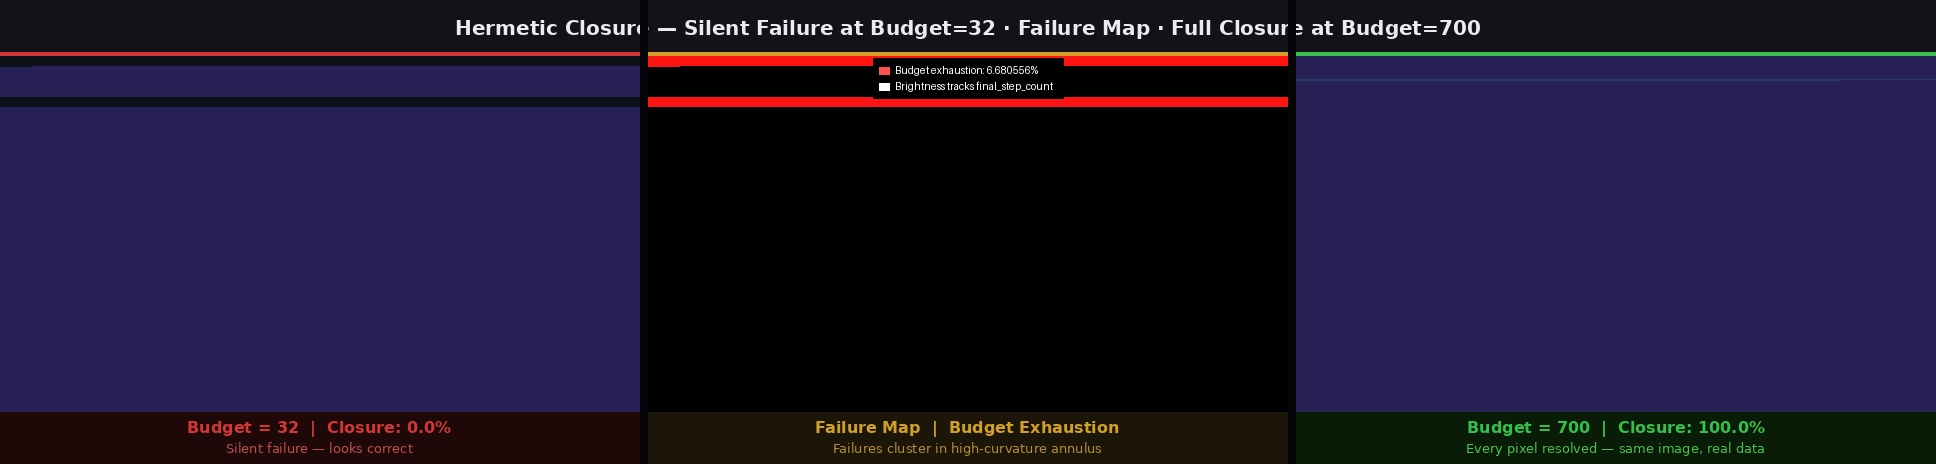
What to look at
Inspect: The failure storyboard image — look at where the failure pixels cluster. They are not random; they trace the annular high-curvature zone from Chapter 1's heat map.
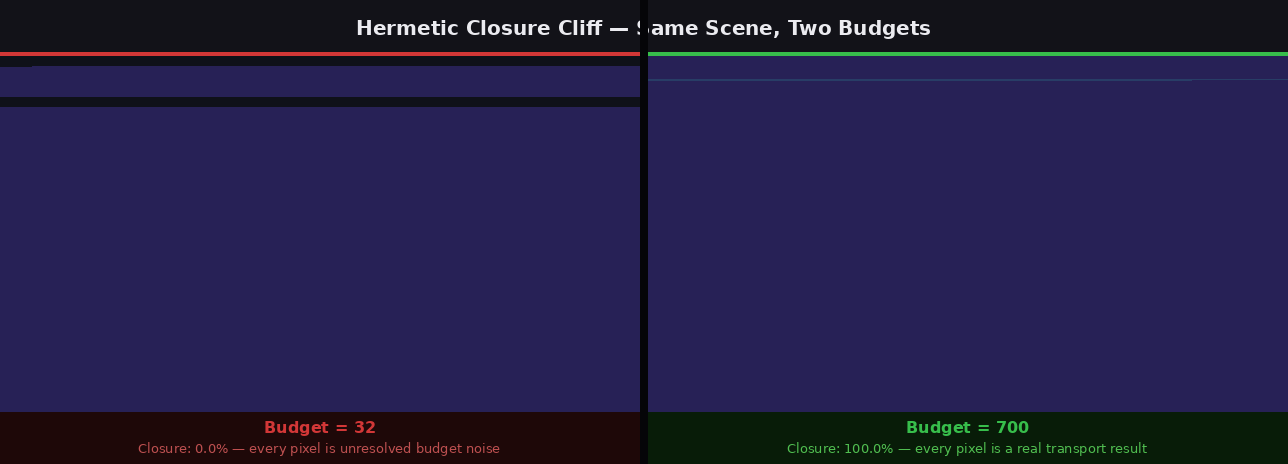
Contradiction: The budget=32 render looks reasonable. No obvious holes, no glitch artifacts. The Validation HUD is the only thing that reveals 0.0% closure — 100% of pixels are unresolved budget noise.
What would make it stronger: A side-by-side render with both HUDs visible simultaneously — budget=32 (left, HUD: 0%) and budget=700 (right, HUD: 100%). This is the chapter's highest-priority pending screenshot. See capture recipe below.
What the Visitor Sees
The hermetic contract: Every ray entering a hermetic scene volume must reach a definitive classification (geometry hit, escaped, portal event) before the integrator exits. A render that satisfies the contract is closed — every pixel is a real transport result. One that violates it is open — some pixels are unresolved budget exhaustion, displayed as noise that looks like a legitimate render.
Budget = 32 (0% closure)
The image looks reasonable. Geometry is present, shading is plausible, there are no obvious holes or glitches. A developer looking at this image without instrumentation would not know anything was wrong.
The Validation HUD tells a different story:
Closure:        0.0%
Phase:          budget_saturated
Rays resolved:  0 / 200
Budget used:    32 / 32 (100% — every ray exhausted all steps)
Every pixel in this render is noise. No ray reached a classification endpoint before running out of steps.
Budget = 700 (100% closure)
The image looks essentially similar. The HUD:
Closure:       100.0%
Phase:         plateau
Rays resolved: 200 / 200
Budget used:   far below 700 (plateau — additional budget adds zero cost)
Every pixel is a real transport result.
The cliff. There is a sharp transition around budget ≈ 300 where closure jumps from near-zero to near-complete. Below the cliff the renderer fails silently. Above it, every pixel is resolved.
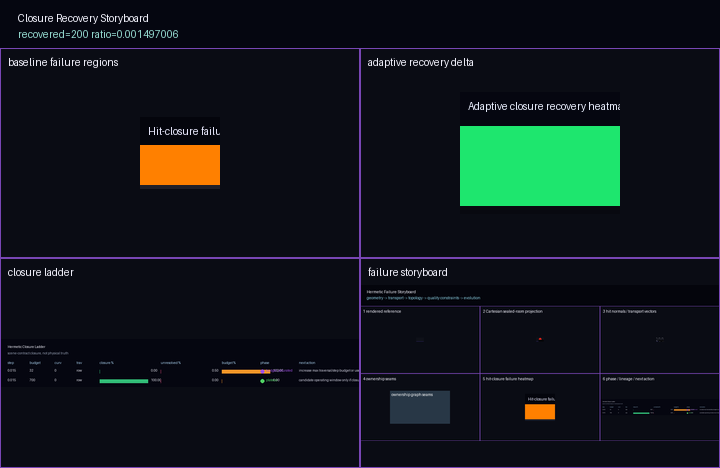
output/hermetic_hit_closure/20260514T040157Z/The failure storyboard shows that failure pixels are not randomly distributed. They cluster in the high-curvature annular region — the same zone the Chapter 1 curvature heat map identified as optically expensive. Integrating through high-curvature regions requires more steps to find the ray's endpoint.
The recovery heatmap shows that adaptive budget scaling recovers most failures in the annular band but cannot recover corners, which have a different failure mechanism.
Artifacts
| Artifact | File | Notes |
|---|---|---|
| Failure storyboard | misterylabs_artifacts/visuals/hermetic-hit-closure-storyboard.png |
Failure pixel distribution |
| Recovery heatmap | misterylabs_artifacts/visuals/hermetic-hit-closure-recovery.png |
Adaptive recovery map |
| Validation summary | misterylabs_artifacts/validation/hermetic-hit-closure.md |
Cell table, closure %, phase |
| Card | misterylabs_artifacts/cards/hermetic-hit-closure.md |
Ready for MisterY Labs |
Missing: A side-by-side render showing budget=32 (left) and budget=700 (right) simultaneously with both Validation HUDs visible — the clearest single-image demonstration of the cliff. This is the chapter's highest-priority pending screenshot.
Sample World
hermetic_closure_world — design proposal
Scene: test-hermetic-curved-room.tscn
Three budget presets:
| Preset | Budget | Expected Closure | Label |
|---|---|---|---|
failure |
32 | 0.0% | "Silent failure" |
transition |
300 | ~50% | "Cliff edge" |
success |
700 | 100.0% | "Full closure" |
The hermetic_closure overlay colors pixels green (hit), blue (escaped), red (budget exhausted). At budget=32 the film is entirely red. The Validation HUD is mandatory in this world — it is the only mechanism for detecting the failure.
Build priority: 3.
Validation Question
At budget=700, step=0.015, row traversal: what is the closure percentage?
Expected: 100.0% (plateau phase). Below 95% indicates regression.
At budget=32, same settings: Expected 0.0% (budget_saturated). Above 5% suggests the scene is less expensive than the artifact baseline — worth investigating.
Falsification of the core claim: If closure at budget=32 is above 10%, either the scene or the integration budget calculation has changed. The budget=32 / 0% result should be stable across runs.
Key Insight
A renderer can fail completely and look fine. The only way to know is to measure closure. "Plausible" is not "correct."
The Validation HUD Is Not Optional
Silent failure
At integration budget=32, the hermetic curved room produces an image that passes casual visual inspection but contains zero correctly classified pixels.
The hermetic closure overlay and Validation HUD are the only mechanisms for detecting this. If you run this scene without instrumentation, you cannot distinguish a correct render from a silent failure.
This is why the hermetic fixture contract exists: transport correctness is not gradual — it falls off a cliff. The right response is to measure closure on every render, not to assume correctness from visual inspection.
Next Chapter
Chapter 4 — Coherence Basin →: Chapter 3 showed that insufficient budget causes transport failure. Chapter 4 asks whether there are regions where no amount of budget or precision can achieve convergence.
Bridge: "We know budget determines closure. But what if the problem isn't budget at all — what if some regions of the field are fundamentally unstable?"
Capture Recipe — Side-by-Side HUD
Target: A single composite image showing budget=32 (left half, HUD visible) and budget=700 (right half, HUD visible) rendered from the same camera pose on test-hermetic-curved-room.tscn.
Steps:
- Open
test-hermetic-curved-room.tscnin the Godot editor. - Set
RayBeamRenderer.MaxSteps = 32. Run and screenshot the full viewport including the Validation HUD overlay. Save asbudget_32_hud.png. - Set
RayBeamRenderer.MaxSteps = 700. Run and screenshot. Save asbudget_700_hud.png. - Composite side-by-side (e.g., ImageMagick:
convert budget_32_hud.png budget_700_hud.png +append chapter_03_sbs_hud.png). - Copy result to
Docs/assets/observatory/hermetic-closure-sbs-hud.pngand update the figure in this chapter.
Expected HUD values:
| Panel | MaxSteps | Closure | Phase |
|---|---|---|---|
| Left | 32 | 0.0% | budget_saturated |
| Right | 700 | 100.0% | plateau |
Promotion path: Copy to misterylabs_artifacts/visuals/hermetic-closure-sbs-hud.png and update manifest.json artifact a04.